Intrinsically Safe Knowledge Base
4 Gas Bump Test Frequency: Best Practices 2026
Determining the correct 4 gas monitor bump test frequency is a cornerstone of any effective safety program in hazardous environments. While regulations provide a baseline, the ultimate responsibility for ensuring a device functions correctly falls on the user. A bump test, or functional check, is the only way to verify that a gas detector’s sensors and alarms are working before workers enter a potentially dangerous area. This guide provides a definitive answer on how often to perform this critical test, balancing manufacturer recommendations, industry best practices, and regulatory expectations to ensure full compliance and worker safety.

Expand Your Gas Detector Knowledge
While bump tests confirm daily function, proper calibration sets the baseline. Understand the official requirements for maintaining your equipment’s accuracy.
Why Daily Bump Tests Are the Industry Standard
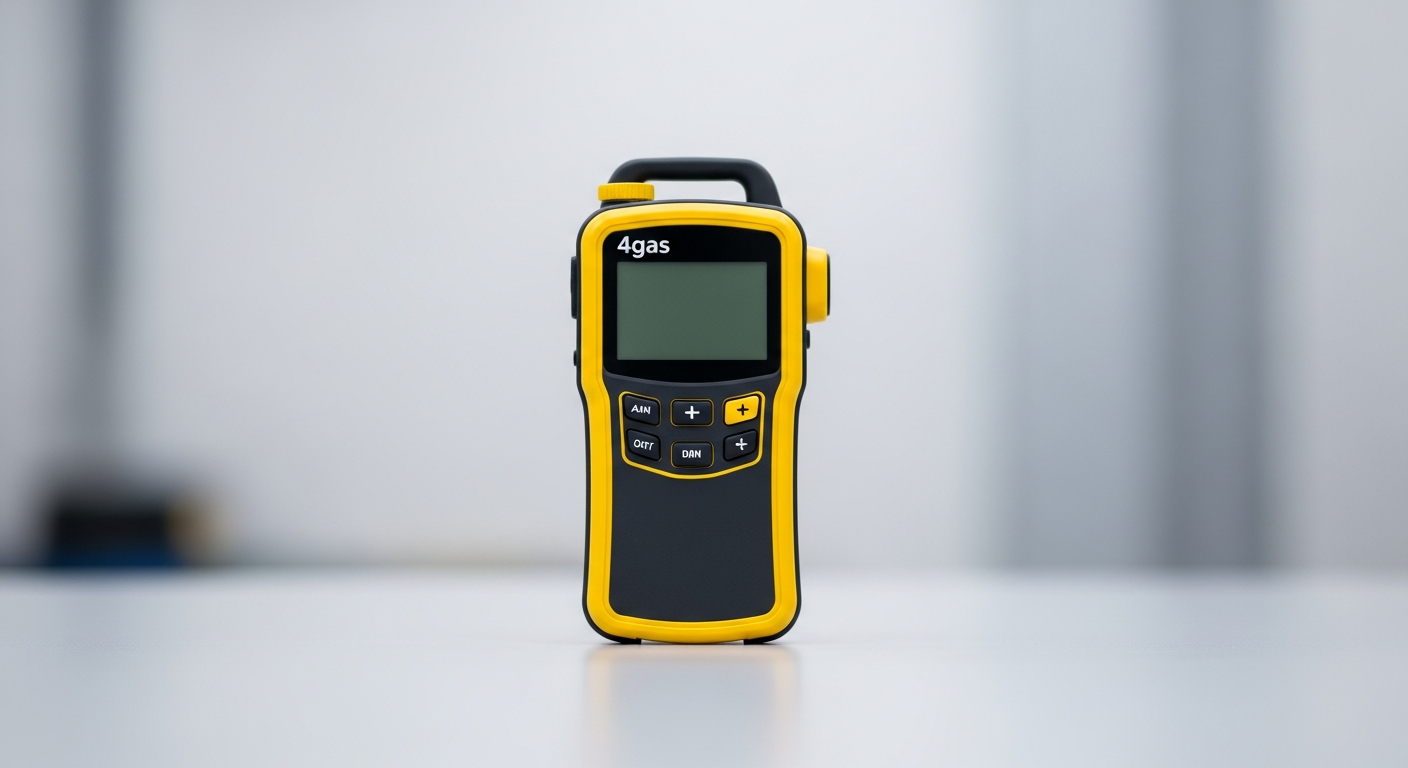
The core purpose of a bump test is to verify that a gas detector will respond to the target gases and that its alarms—both audible and visual—will activate. It’s a simple pass/fail test that doesn’t measure sensor accuracy but confirms functionality. While some regulatory bodies may not mandate a specific frequency, the overwhelming consensus from manufacturers and safety professionals is to conduct a bump test before each day’s use. This practice mitigates risks from sensor poisoning, physical damage, or component failure that could occur at any time. In environments governed by standards like NFPA 70 Article 500, ensuring that all safety equipment is functioning as intended is not just a best practice; it’s a fundamental requirement for operating in classified hazardous locations. A non-responsive gas monitor is as dangerous as no monitor at all, making the daily check an indispensable safety habit.
Key Factors Influencing Your Bump Test Schedule
While daily testing is the gold standard for 4 gas monitor bump test frequency, several factors can influence your organization’s specific policy. A thorough risk assessment should consider the following elements to establish a robust and defensible testing protocol.
- Manufacturer’s Recommendations: Always start with the device’s manual. Manufacturers provide specific guidelines based on their sensor technology and device construction. Deviating from these recommendations can not only void warranties but may also create liability in the event of an incident.
- Severity of Exposure: Consider the environment where the monitor is used. A device used in a highly corrosive atmosphere, subjected to high levels of humidity, or exposed to contaminants that can poison sensors (like silicones or lead compounds) requires more frequent testing without question.
- Frequency of Use: A monitor used daily by a field technician requires a pre-use bump test every single day. For a device used intermittently, it must be tested before each use, even if that means multiple days pass between tests. The rule is simple: if it’s going to be used, it must be tested first.
- Internal Safety Policies: Many organizations adopt a zero-tolerance policy for ambiguity and mandate daily bump testing for all portable gas detectors, regardless of use case. This simplifies training, eliminates user confusion, and creates the strongest possible safety culture.
A Step-by-Step Guide to Performing a Bump Test
Performing a bump test is a quick and straightforward process that should be second nature for every user. While the exact steps may vary slightly by device model, the general procedure is consistent. Always refer to your monitor’s user manual for specific instructions and gas concentrations.
- Power On and Self-Check: Turn the monitor on in a clean air environment and allow it to complete its startup sequence and self-check. Ensure the battery is sufficiently charged for the duration of the work shift.
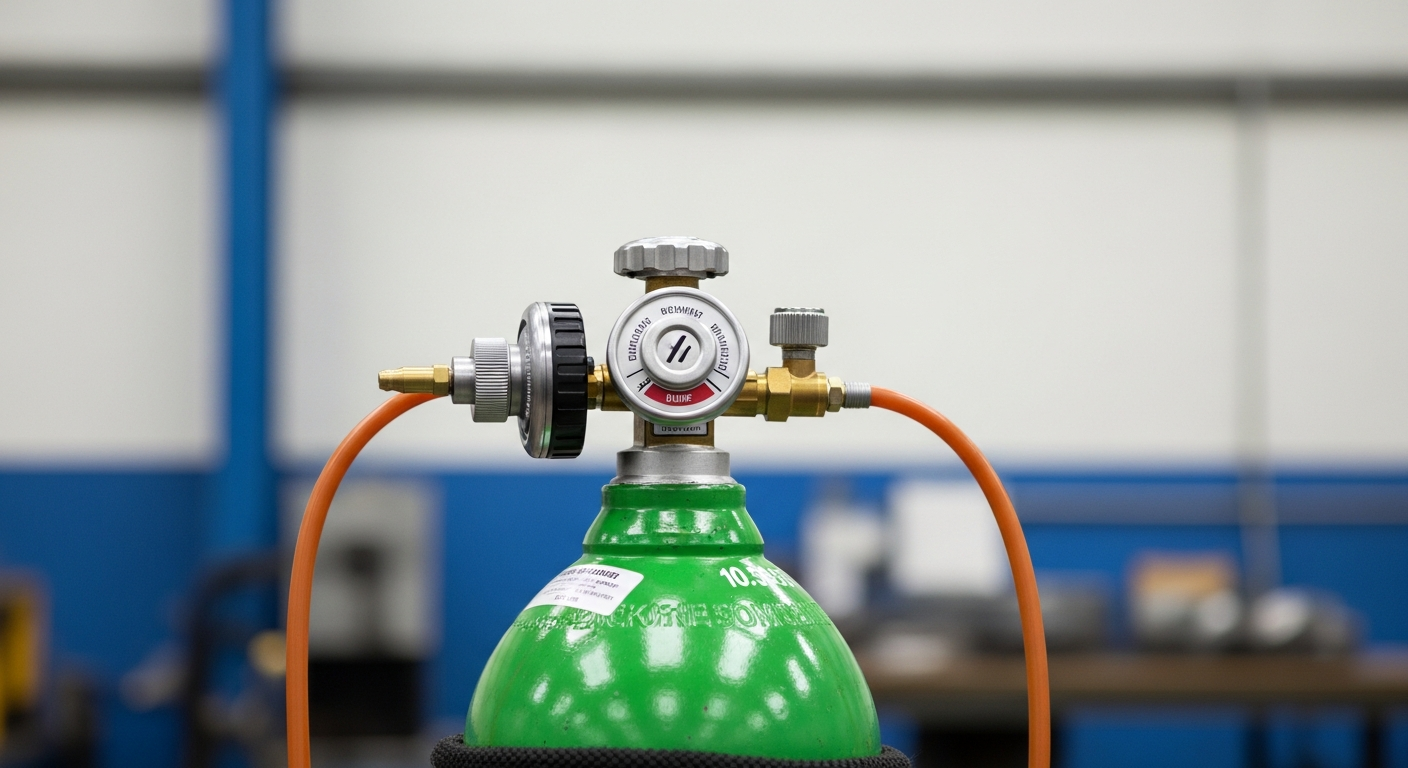
- Prepare the Test Gas: Verify you have the correct concentration of test gas for your monitor and that the gas has not expired. Securely attach the regulator to the gas cylinder.
- Connect the Equipment: Attach the calibration cap or adapter securely over the monitor’s sensor inlets. Connect the tubing from the regulator to the adapter.
- Apply the Gas: Open the regulator valve to apply a brief flow of test gas to the sensors. The flow rate and duration are typically specified by the manufacturer, but it is usually only for a few seconds.
- Verify the Alarms: Confirm that the monitor’s readings rise to meet the applied gas concentration and that both the audible and visual alarms activate within the manufacturer’s specified time.
- Document the Result: Once the test is complete and the device passes, shut off the gas flow and remove the adapter. Record the successful test in a logbook or via an automated docking station. If the device fails, it must be removed from service immediately for a full calibration.
Recommended Products for Gas Detection and Calibration
The following products from our catalog are certified for use in hazardous areas and directly relevant to this guide:
| Product Category | Rating / Certification | Link |
|---|---|---|
| Measurement & Calibration Equipment | ATEX / IECEx / Class I Div 1 Certified | Shop Now |
Shop Certified Gas Detection & Calibration Equipment
Ensure your safety program is fully compliant with certified gas monitors, docking stations, and calibration gas from trusted brands.
Frequently Asked Questions
What is the difference between a bump test and a calibration?
A bump test is a qualitative check to ensure sensors and alarms function. A calibration is a quantitative procedure that adjusts the sensor’s readings to match a known concentration of gas, ensuring its accuracy. A failed bump test always requires a full calibration.
Is it a legal requirement to bump test a gas detector every day?
While specific laws like OSHA’s may not explicitly state ‘daily’, they require equipment to be maintained according to manufacturer recommendations. Since virtually all manufacturers recommend a test before each day’s use, it has become the de facto legal and safety standard.
How long does a bump test take?
A manual bump test is very fast, typically taking less than a minute from start to finish. Automated docking stations can perform the test on multiple units simultaneously, often in just a few minutes, while also maintaining digital records.
What should I do if my 4 gas monitor fails a bump test?
If a monitor fails to alarm or gives an inaccurate reading during a bump test, it must be taken out of service immediately. Do not use the device. It needs to undergo a full calibration, and if it still fails, it may require sensor replacement or other repairs.
Can I use expired calibration gas for a bump test?
No. Never use expired calibration gas for any test. The gas concentrations can change after the expiration date, which can lead to inaccurate tests and calibrations, providing a false sense of security. Always check the date on the cylinder.
Conclusion
The question of 4 gas monitor bump test frequency has a clear and safe answer: test before each day’s use. This simple, quick procedure is the most reliable way to verify your life-saving equipment is ready for duty. Adhering to manufacturer guidelines, implementing a firm internal policy, and ensuring proper user training are the three pillars of a successful gas detection program. Documenting every test creates a defensible record of due diligence and reinforces a culture of safety. Ultimately, a consistent and disciplined approach to the 4 gas monitor bump test frequency is non-negotiable for protecting personnel in hazardous environments.
